


Want to make crispy, golden fried oysters at home? Here's how you can do it in under 30 minutes for a fraction of the cost of dining out.
Little Wicomico's dock-to-door oysters make frying oysters simple, even for beginners. Their oysters, raised on Virginia's Little Wicomico River, are known for their sweet, buttery flavor and firm texture, perfect for frying. Here's a quick rundown:
- Prep: Soak oysters in buttermilk and hot sauce for 20 minutes.
- Coat: Dredge in a seasoned mix of cornmeal and flour.
- Fry: Cook in 370°F oil for 90 seconds per side.
- Serve: Pair with lemon and your favorite dipping sauce.
Choose from pre-shucked oysters (starting at $45.00) or a 100-count sampler ($99.99). With their high quality and easy preparation, you'll enjoy restaurant-style results at home without the hefty price tag.
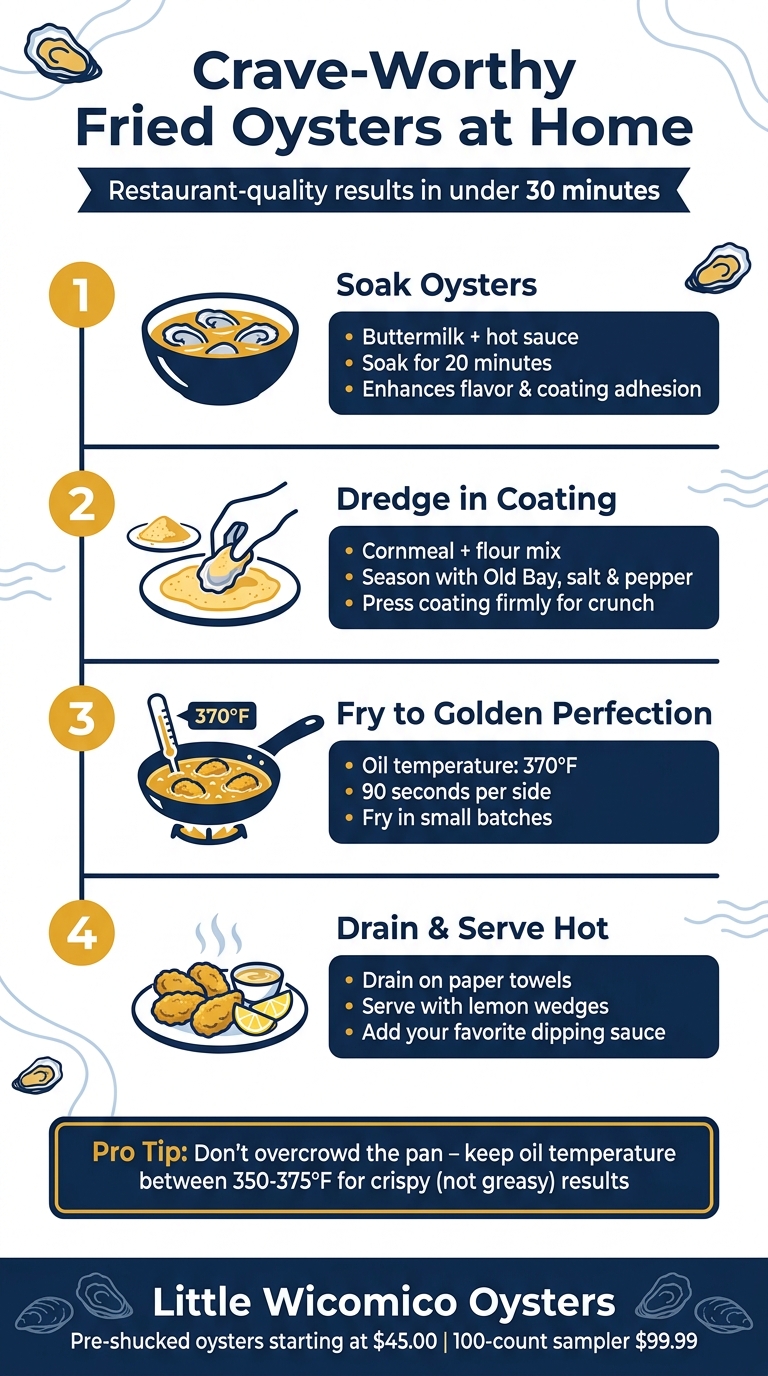
How to Fry Oysters at Home in 4 Simple Steps
Why Little Wicomico Oysters Work Best for Frying

Not all oysters are created equal when it comes to frying. Little Wicomico oysters stand out because of their creamy, full-bodied meat that holds up beautifully in 370°F oil.
Freshness and Quality of Little Wicomico Oysters
These oysters strike the perfect balance with their moderate brininess (3/5) and high sweetness (4/5). Their flavor profile - rich, buttery, and earthy - remains intact even after frying.
"The creamy consistency and full-bodied flavor make these oysters exceptionally versatile for both raw enjoyment and cooking." – Oyster Tasting Guide
Fall and winter harvests are particularly prized for their firmer texture, which is key for dredging, battering, and frying. The Blackberry® Reserve variety, available from October to March, is a chef favorite thanks to its sweet, buttery notes and crisp finish. These seasonal oysters have a meaty texture that resists shrinkage during cooking, ensuring a consistently excellent fried result.
sbb-itb-5051793
Tools and Ingredients You'll Need
Before you start frying, it's a good idea to gather everything you'll need. Being prepared makes the process much smoother.
Kitchen Equipment
For frying, you can use a deep fryer, cast iron skillet, or Dutch oven - just make sure it can hold 2–3 inches of oil. A deep-fry thermometer (or candy thermometer) is a must to keep the oil at the ideal 370°F. This helps your oysters cook perfectly - crispy, not greasy or burnt.
If you're working with fresh oysters, grab a shucking knife to open them. For pre-shucked oysters, a colander is handy for draining. You'll also need shallow bowls for the buttermilk soak and cornmeal coating. A slotted spoon or spider skimmer is essential for safely removing the oysters from the hot oil.
Keep paper towels on hand to pat the oysters dry and to drain excess oil. A wire rack is great for letting the breading set or for draining the finished oysters. And here's a pro tip: use a toothpick to poke a small hole in each oyster before frying.
"I always use a toothpick to poke a small hole in the large round part of each oyster before breading. This releases the liquid and any pressure that might build inside the oyster that could cause it to explode when it hits the hot oil." – Blair Lonergan, Author, The Seasoned Mom
Ingredients for Fried Oysters
Start with Little Wicomico oysters. You can choose fresh shucked and jarred oysters (starting at $45.00) or the 100 ct Farm Fresh Oyster Sampler. For the batter, you'll need:
- Buttermilk
- Yellow cornmeal
- All-purpose or self-rising flour
Use a neutral, high-smoke point oil like peanut, vegetable, or canola oil for frying. For seasoning, mix in Old Bay (or Cajun seasoning if you like more spice), plus salt and black pepper. Want a little heat? Add a splash of hot sauce to the buttermilk.
Serve your perfectly crispy oysters with lemon wedges and your favorite dipping sauce. Simple, yet delicious!
How to Fry Little Wicomico Oysters
Step 1: Shuck and Prepare the Oysters
If you're looking to save time, pre-shucked oysters are the way to go. Little Wicomico offers Fresh Shucked & Jarred Oysters starting at $45.00, so you can skip the hassle of shucking and dive right into cooking. Once your oysters are ready, place them in a bowl with buttermilk and a splash of hot sauce. Let them soak for about 20 minutes - this boosts flavor and helps the coating stick better.
Step 2: Mix the Buttermilk Batter and Cornmeal Coating
While the oysters soak, prepare the coating. In a shallow dish, combine cornmeal and self-rising flour (or substitute cornstarch for extra crispiness). Season the mixture generously with Old Bay, salt, and black pepper.
After soaking, dredge each oyster in the seasoned coating. Be sure to press the coating firmly onto the oysters for that perfect crunch.
Once coated, place the oysters on a tray and refrigerate briefly. This step helps the coating stick better when frying.
Step 3: Heat the Oil and Fry in Batches
Heat your oil to 370°F - a thermometer is your best friend here. If the oil is too cool, the oysters will absorb too much oil and turn greasy; too hot, and they’ll burn. Once the oil is ready, fry the oysters in small batches, leaving enough space between each one to avoid overcrowding.
Start by frying for 90 seconds on one side, then flip and cook for another 1 to 2 minutes, or until they turn a beautiful golden brown.
Step 4: Drain and Serve Hot
After frying, use a slotted spoon or spider skimmer to remove the oysters from the oil. Place them on paper towels to drain any excess oil - this keeps them crispy. Sprinkle with a little salt, and serve immediately with lemon wedges and your favorite dipping sauce. Fried oysters are best enjoyed fresh out of the pan, while they’re still hot and irresistibly crispy.
Tips for Beginners
Here’s how to make sure your fried oysters come out perfectly crispy every single time.
Don't Overcrowd the Pan
When you add too many oysters at once, the oil temperature can drop dramatically, leaving you with greasy, soggy oysters. Fry just a few at a time, giving each one enough room to cook evenly. Between batches, let the oil return to the sweet spot of 350°F–375°F. Keeping the pan from getting too crowded goes hand-in-hand with keeping an eye on the oil temperature.
Monitor Oil Temperature
A thermometer isn’t optional - it’s your best friend when frying oysters. Oil that dips below 350°F will leave you with greasy results, while going above 375°F risks burning the coating.
"If it [the temperature] drops too low, the oysters will absorb too much oil and have a greasy, unpleasant taste. Too high, and the coating will burn or become too dark." – Blair Lonergan, Author, The Seasoned Mom
Keep an eye on the thermometer and adjust the burner heat as needed to stay in the ideal range.
Try Different Seasonings and Sides
Once you’ve nailed the frying process, it’s time to get creative. Experiment with seasonings to change things up - swap Old Bay for a Cajun or Creole blend to add some spice, or mix in garlic powder, paprika, and cayenne for an extra kick. Pair your oysters with classic Southern sides like hush puppies, coleslaw, or baked potato wedges. For dipping, try remoulade, cocktail sauce, or honey mustard. And don’t underestimate the simple perfection of a fresh squeeze of lemon over the top.
Conclusion
Making crispy, golden fried oysters at home is easier than you might think. Start by soaking fresh oysters in a mix of buttermilk and hot sauce for 20 minutes. Coat them in a blend of seasoned cornmeal and flour, then fry them at 370°F for about 90 seconds per side. With this simple method, you can bring restaurant-style fried oysters straight to your kitchen.
For the best results, choose high-quality oysters. Little Wicomico's Fresh Shucked & Jarred Oysters are a fantastic option - they come ready to fry, no shucking required. These oysters are sourced from four generations of family farming along Virginia's Little Wicomico River, ensuring they're as fresh as it gets, delivered straight to your door.
Feel free to get creative with seasonings like Cajun spices, and finish your oysters with a squeeze of lemon and your favorite dipping sauce for that extra flavor boost.
Ready to try this at home? You can order Fresh Shucked & Jarred Oysters starting at $45.00, or go big with the 100-count Farm Fresh Oyster Sampler for $99.99. Plus, military members and first responders can enjoy a 20% discount with their VIP code. Fire up that fryer, and enjoy your oysters while they’re hot and perfectly crispy!
FAQs
How do I keep fried oysters from turning greasy?
To keep your fried oysters crispy and not greasy, aim for an oil temperature of about 370°F. Fry them in small batches to avoid overcrowding, as this can cause the oil temperature to drop. Before frying, let the breaded oysters rest in the refrigerator for a short time to help the coating stick better. Once fried, drain them on paper towels to soak up any extra oil. Following these tips will give you oysters with a perfect crunch and great flavor.
How do I know when fried oysters are fully cooked?
Fried oysters are ready to eat when they turn plump and opaque, with edges that slightly curl. Cook them at about 375°F until the coating is golden brown and crispy. To confirm they're done, look for a firm, opaque interior paired with a rich golden exterior. Keep a close eye on them while frying to achieve the perfect texture and flavor.
Can I prep the oysters ahead of time and still keep them crispy?
You can get oysters ready ahead of time by breading them and letting them chill briefly in the fridge to help the coating stick. But for the absolute best crunch, fry them fresh right before serving. Pre-cooking or frying them in advance can lead to a loss of crispiness. To enjoy their peak flavor and texture, frying them just before serving is the way to go.


